Documentation for WeVideo – basic operations within the app
List of contents
- – Navigating to the edition menu
- – Discovering edition functionalities of the menu
- I. Navigating to the edition menu
Before proceeding with this step ensure you have access to WeVideo through your institution or purchased subscription.
- 1. Access the WeVideo in web browser (at https://www.wevideo.com/)
- 2. Sign in with your personal/institution credentials
- 3. Navigate to the “Create New” blue button in the top left corner of the screen
- 4. In the pop-up window that appears press “video”
- 5. In the next pop-up window select “Full-featured video”
- 6. Locate different elements within the menu
II. Discovering edition functionalities of the menu
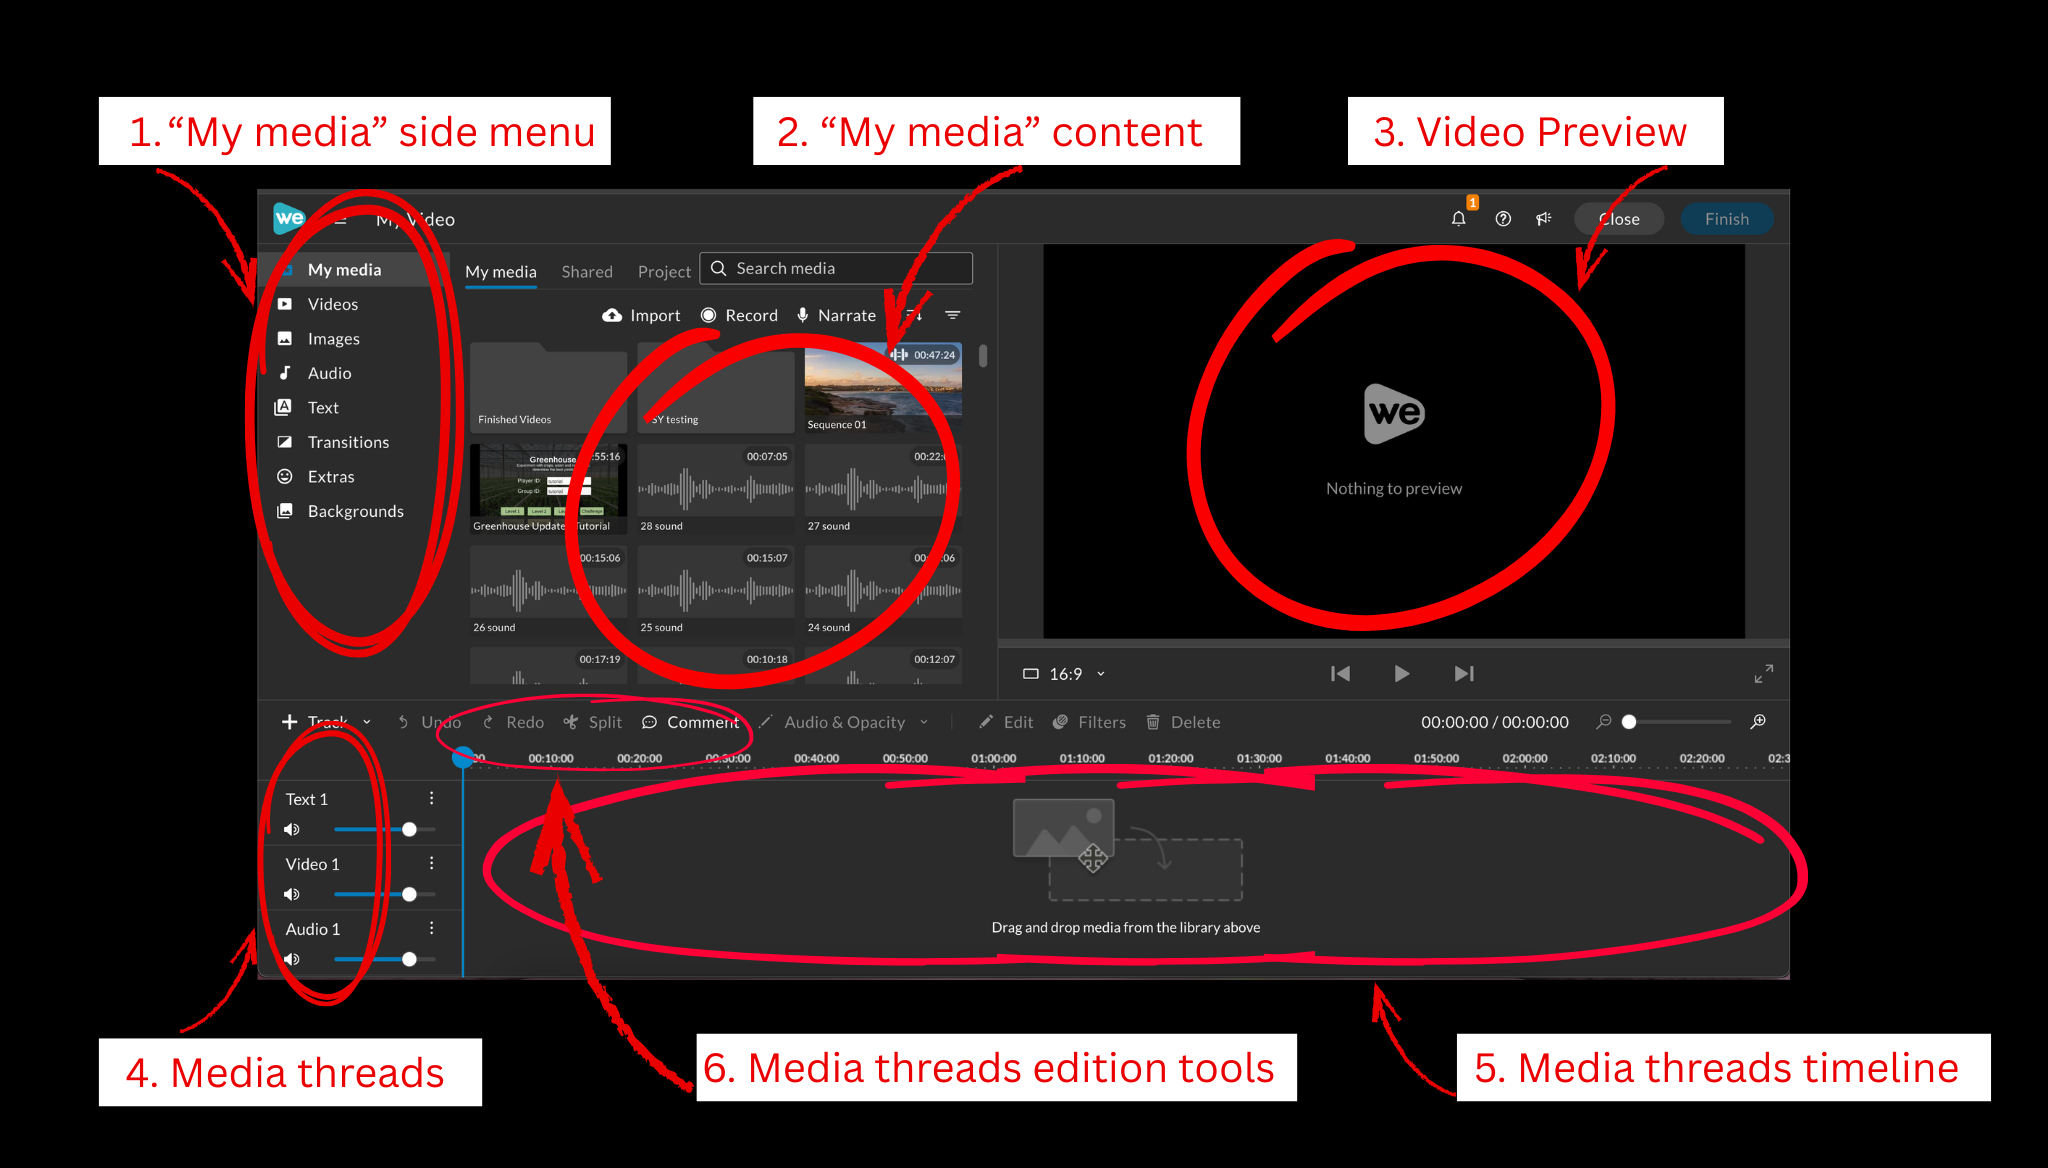
- 1. Look around at the different elements of the menu

- 2. “My media” side menu
a. Function: Allows you to select the type of media you would like to add to your video
- b. Press the different types of media, and look at how side content changes
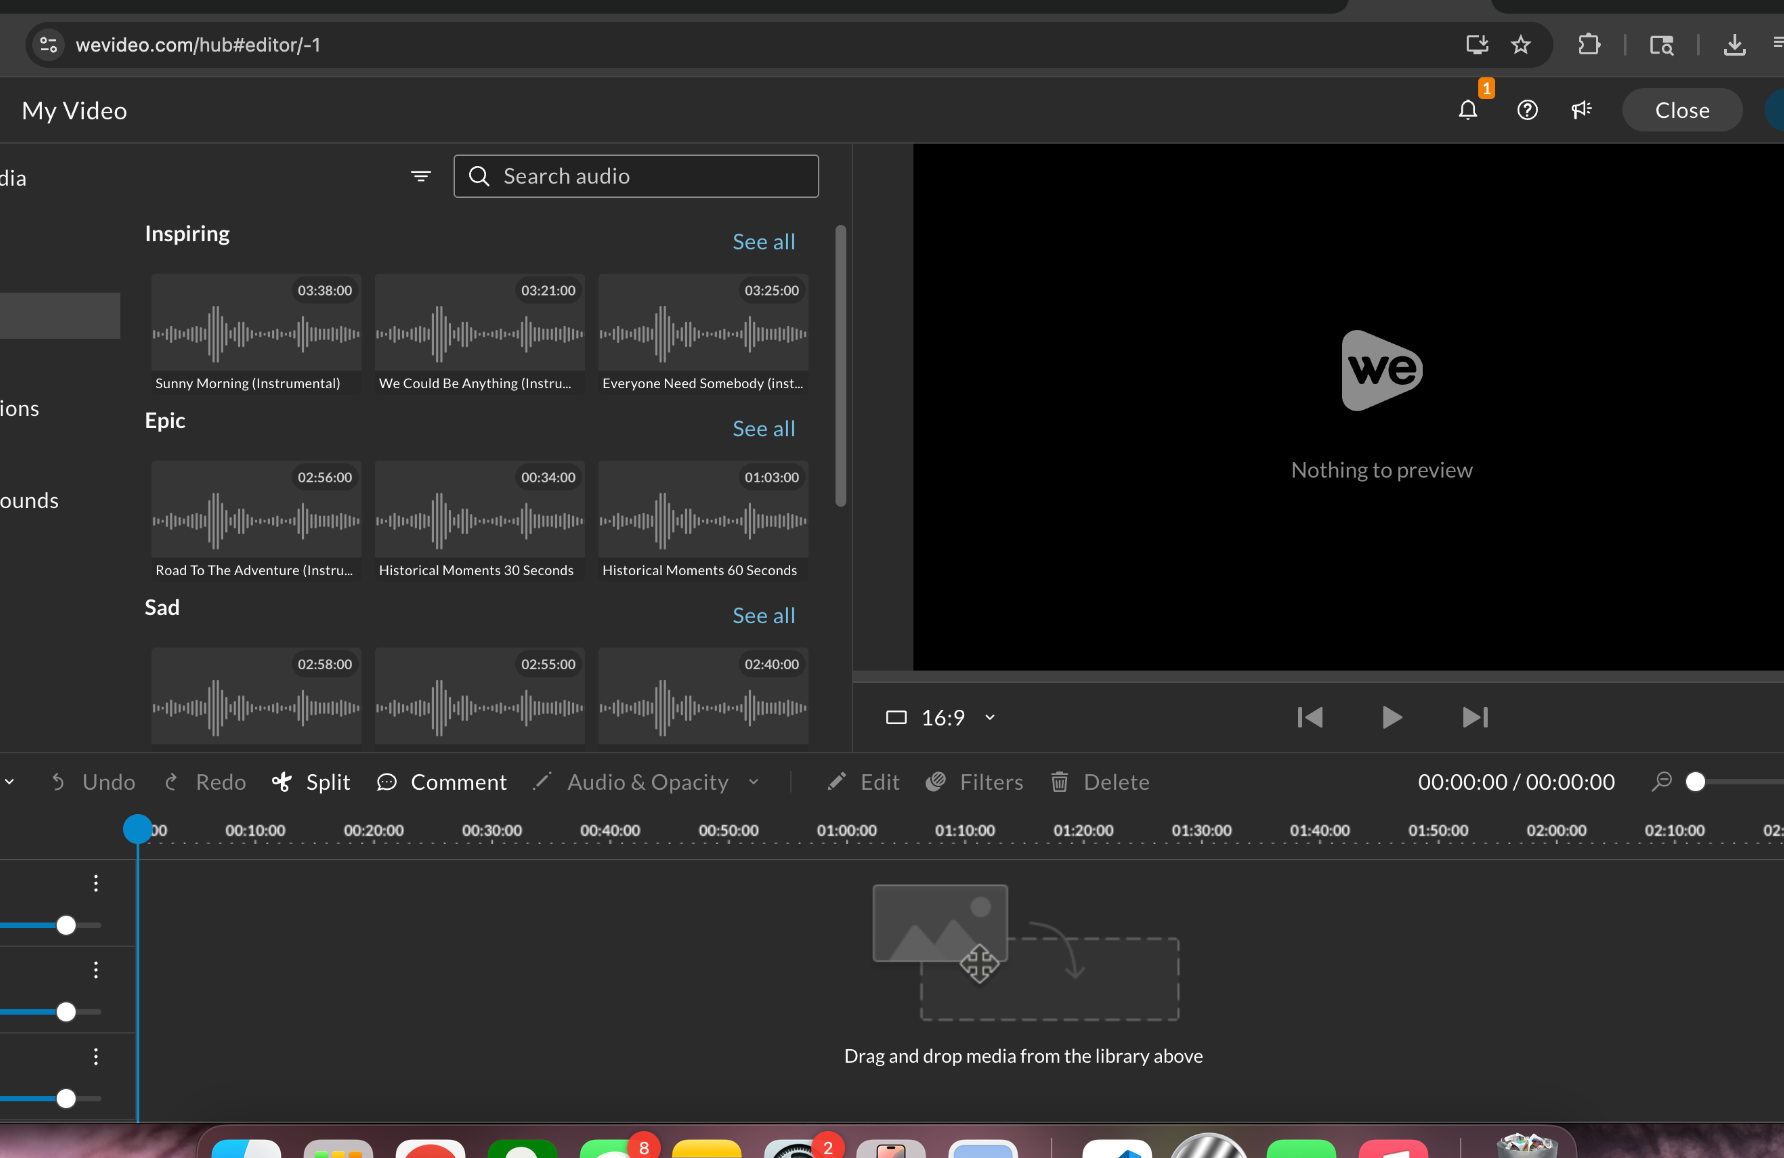
- 3. “My media” side content
a. Function: Gives you a preview of the media within a selected type. The default “My media” displays the media you uploaded to WeVideo
- b. Select one of the types of media from “My media” menu
- c. Scroll down the different suggested media units that appear in the side content
d. Press one of them and observe as it appears in the preview window
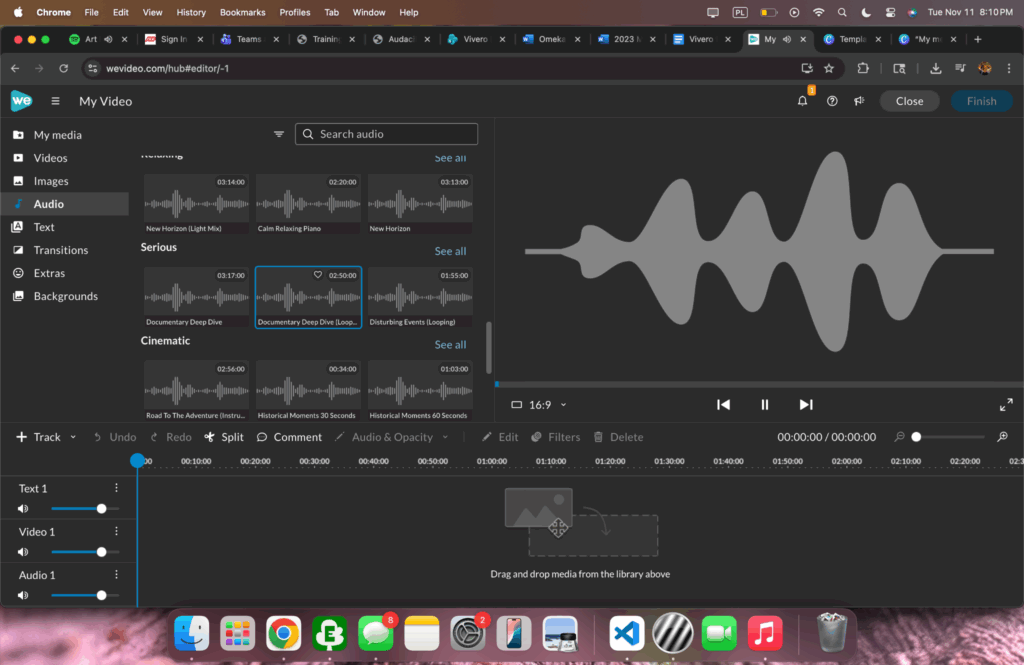
- e. You can pause the media, or move it forward using the navigation bar right under the preview window
- f. To deselect the media press double-press left mouse click.
REFLECTION
As a computer science major I know the importance of good documentation. Oftentimes I go back to my code and it is only thanks to good documentation that I can quickly get back to what I was working on, instead of spending a hefty amount of time reading every line of code.
I think that the same is true for digital humanities — by carefully documenting every relevant step in the process of creating a project we can ensure that its easily understandable. That is particularly important as every digital humanities project is unique in its own way, and even though the person reading the documentation may have experience with certain tools, they do not know the specifics of how these tools are used to achieve project’s effect.
Tree Map project is a perfect example of a project that needs extensive documentation. Since I am using different products within ArcGIS, Excel sheets, online data storage and WordPress, the backend of the project is not straight-forward. This is why I began to organize the documentation for different operations that I perform while creating the Map, so that it can be used by anyone in the future who would want to continue expanding the map. Since there are quite a few elements of the Map that are yet to be finalized I refrain from creating complete documentation as it may change over the course of next few weeks. I will, however, proceed to slowly take notes and videos of some of the tasks that I do not expect to change. My goal is to have a complete set of instructions for navigating the Map from creator’s perspective by the end of next semester.